The Genesis of a Gunstar
Yes, "The Last Starfigther" is a kinda-cheesy-by-modern-standards 80's sci-fi movie. However, it does have two very wonderful things going for it; the always sparkling presence of Robert Preston ("The Music Man" and "Victor/Victoria") and the superb Production Design by Ron Cobb ("Alien" and "Blade Runner"). I've always admired the unique design of the Gunstar. It looks very much like a spaceship as opposed to a jet with some rockets stuck on it.
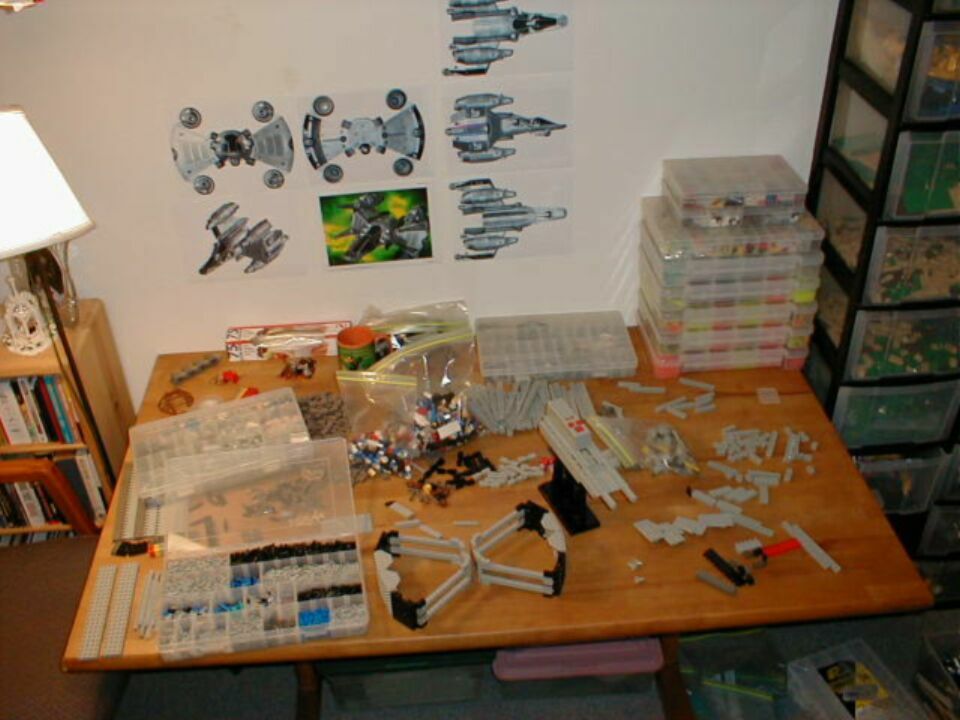
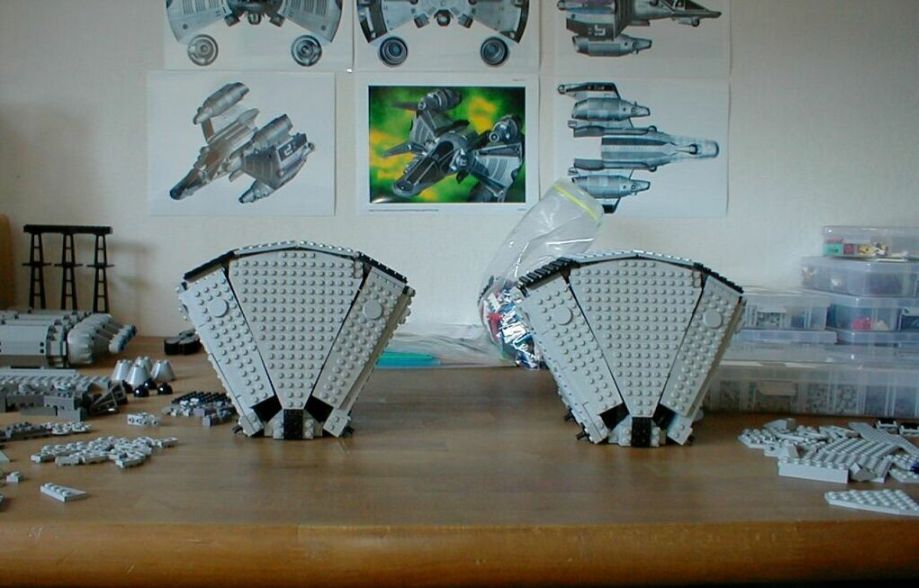
The beginning of the project. I'd broken down my ISD and now had the table space and parts necessary. I found some terrific CG renderings of the ship at this website (look in the Portfolio) and printed all the pictures and hung them up for visual reference. I knew that the shape of the "wings" would be the most challenging part, so that's where I started.
I initially attempted to incorporate a battery box so that the Death Blossom doors could be opened with 4 micromotors, but I couldn't see the way to incorporate such a complex feature. I had managed to brace the insides of the wings at this point because I was sure that they would have to bear a lot of weight and there wasn't much space left for further mechanics and electronic elements.
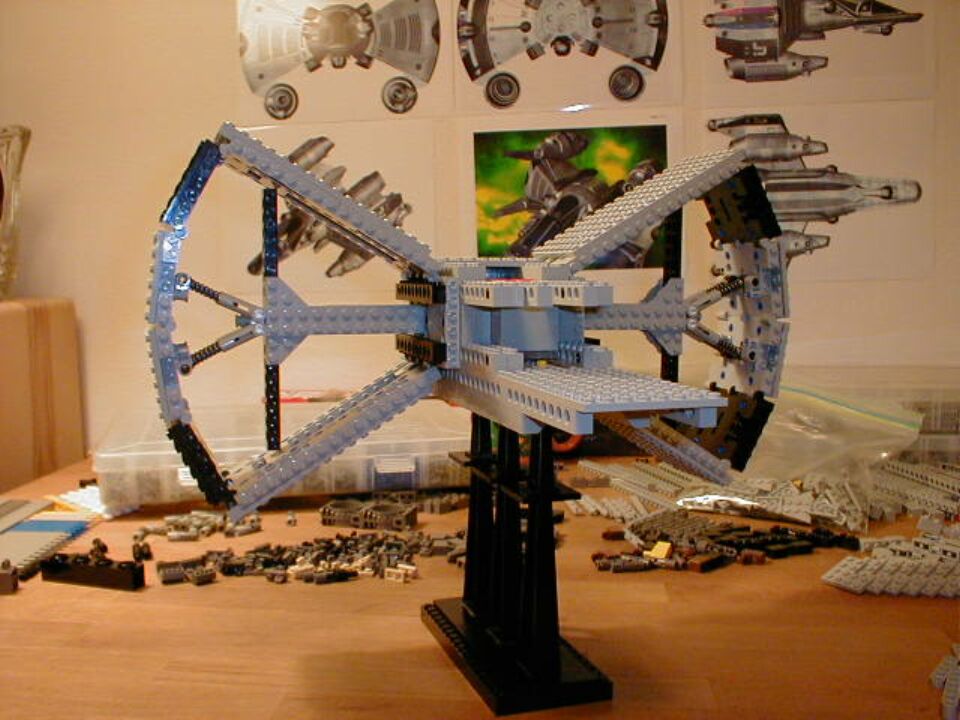
The springs maintain the outside curve firmly, but with enough flexibility to allow for the large front panels to snap into place (a few pics further down). The twin vertical beams brace the top panels to prevent sagging.
My first attempt at the engines turned out to be WAY too small. The engines (especially the front nozzles) on the CG model would be very difficult to translate perfectly. TLG hasn't made pieces yet that will do that and therein lies the challenge! You'd probably have to increase the size of the model pretty drastically and I wanted to be able to pick it up and "swoosh" it around a little when it was finished!
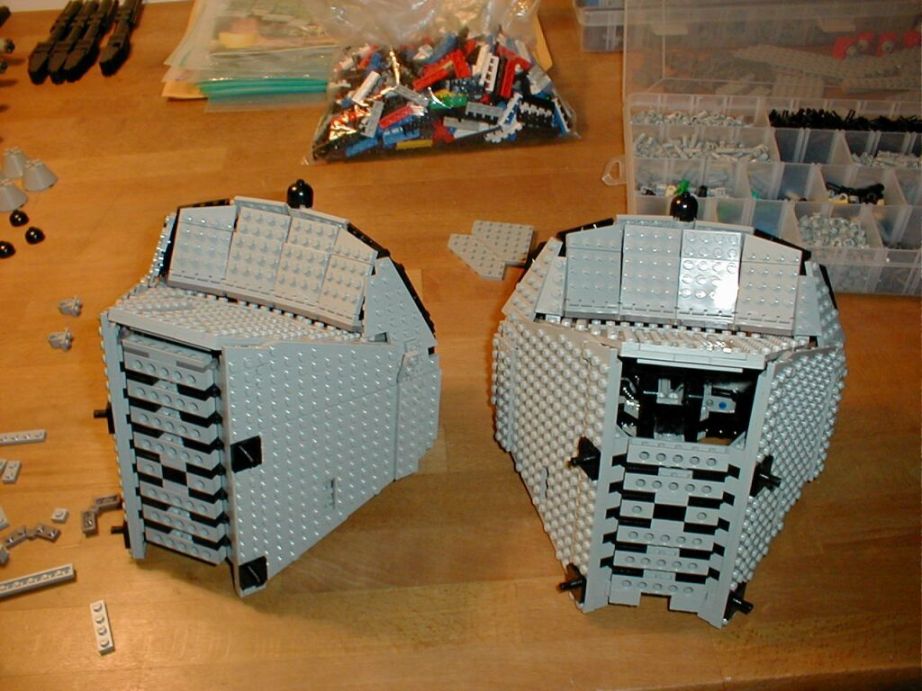
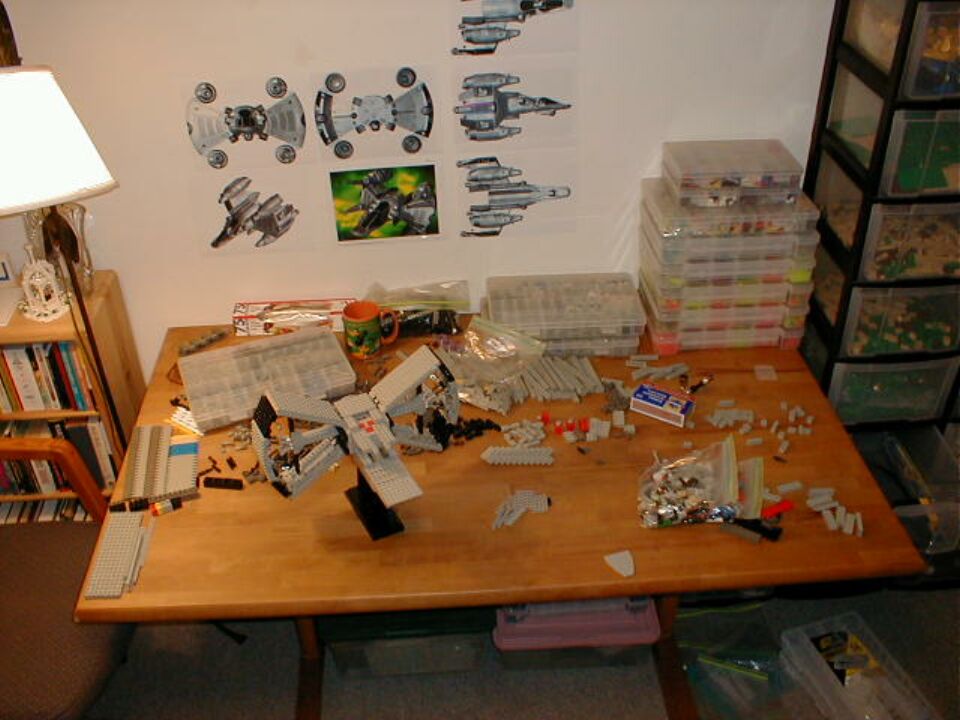
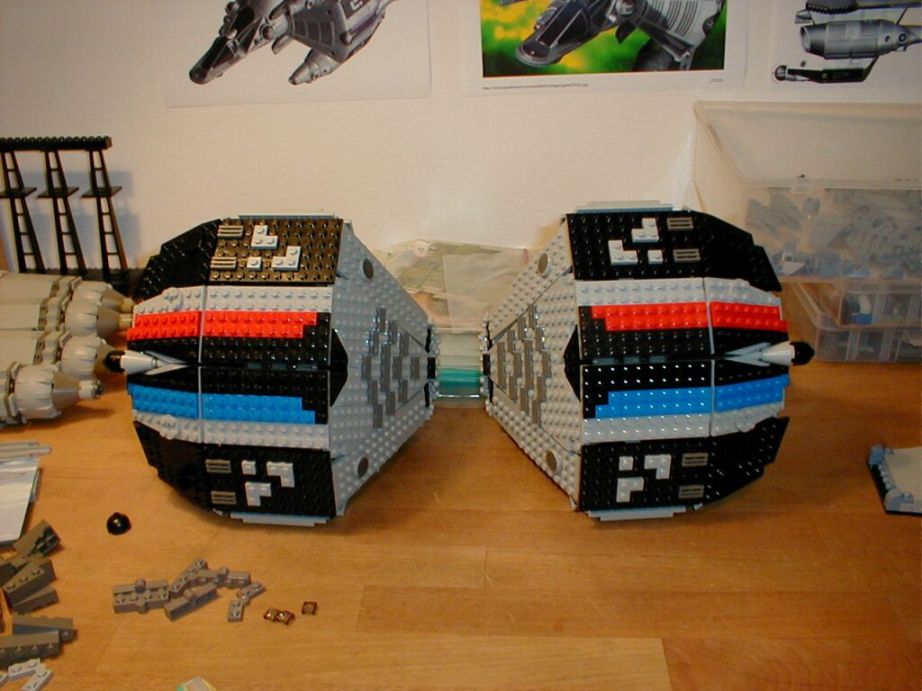
The rear sections of the wings were a terrific challenge because I had no clue how to do the curved triangular wedge with rear gun mounts that happen here, but it worked out well. The wing on the right isn't finished as I'd run out of 1x4 black hinge plates. This was the first MOC that I'd built that required a shopping trip to Bricklink. Many thanks to Julie Krenz!
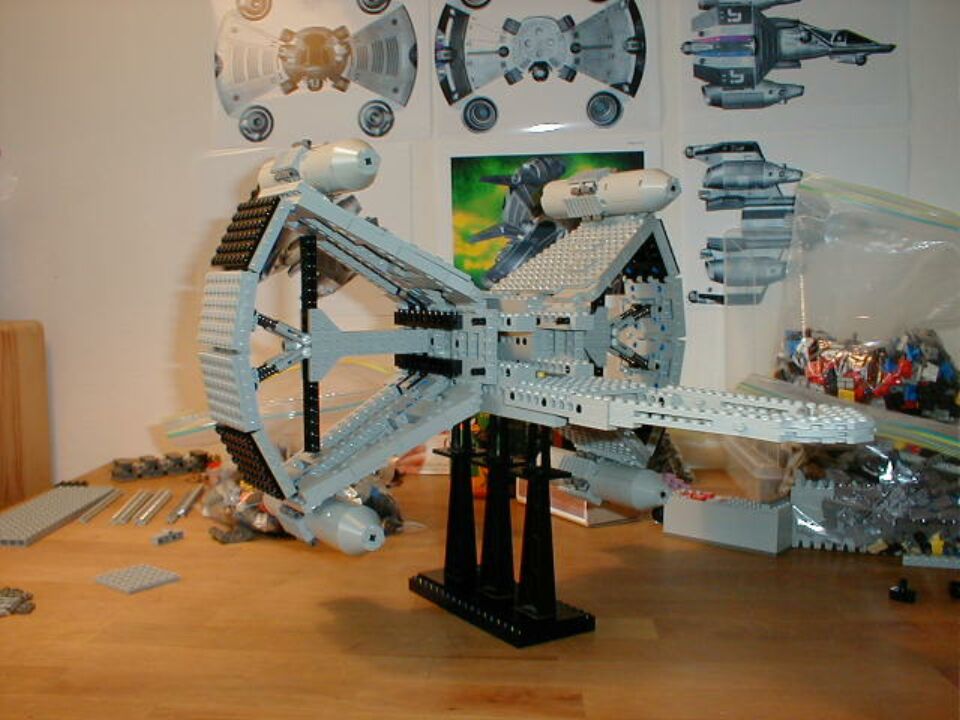
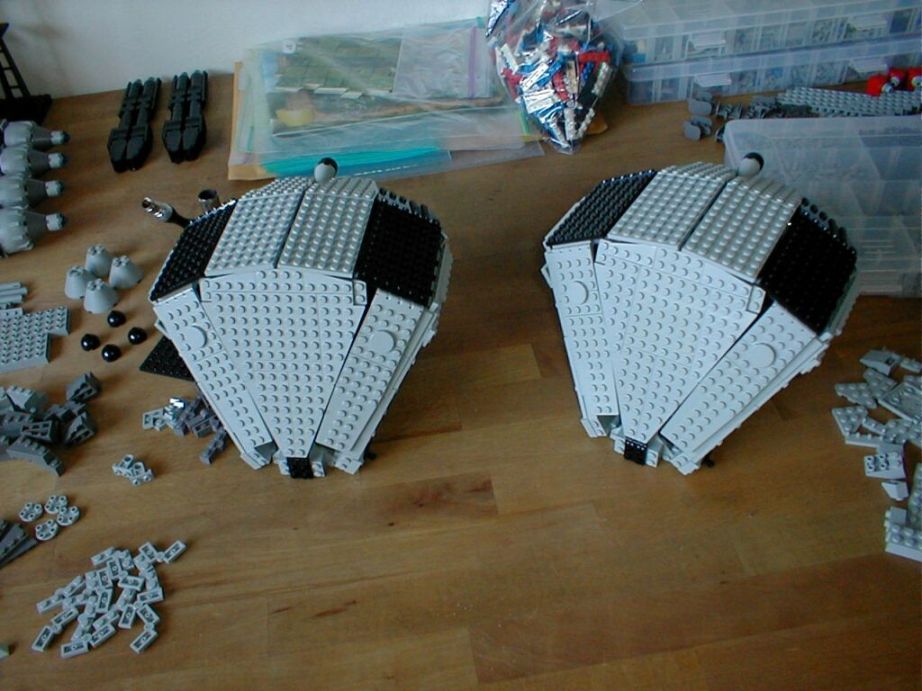
I used LOTS of the new 1x3 and 1x4 gray wing plates here. The whole plate is attached underneath in two places. At the base of the wing (where my hand is) I used two magnets, and at the other end I used four of a fairly new Technic piece that comes in #7409 (1x2 plate with beam underneath that is two friction peg holes long). These pieces are mounted on two elbow Technic beams which are in turn mounted on the center brace beam. The magnets provide a snug fit and yet also provide the necessary flexibility for the assembly to stay together during frequent handling.
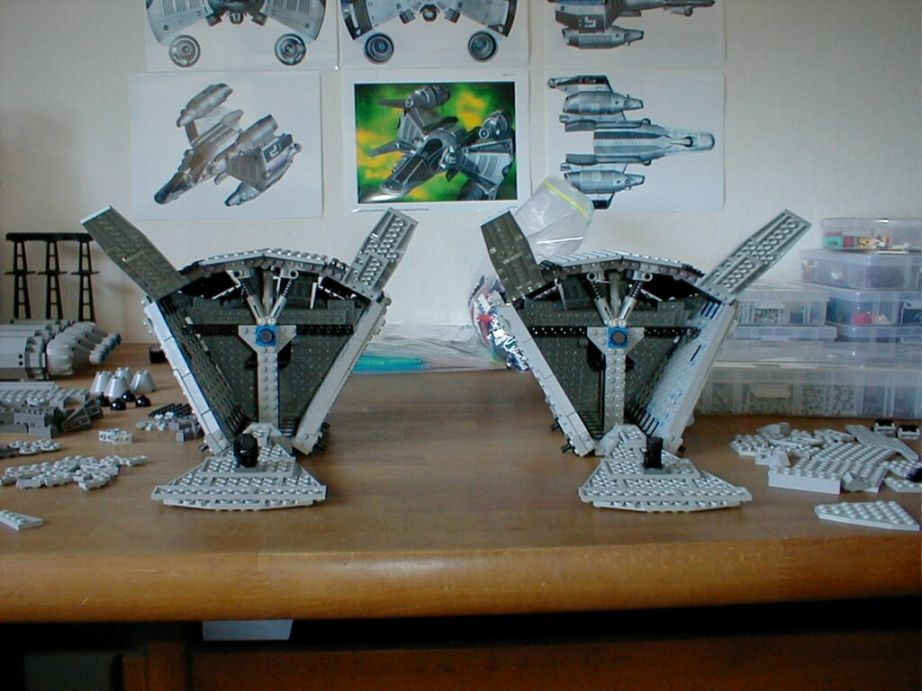
I had no idea how I was going to make the Death Blossom doors work, but when I discovered that the 4x9 tapered plates had the perfect diminishing angle, the doors were finished very quickly. The wings themselves are a sandwich of Technic beams separated by a layer of two 1x4 hinge plates. The beams had to be evenly spaced so that I could lay large plates all around the outside. I used a LOT of those blue Technic half pins with the stud.
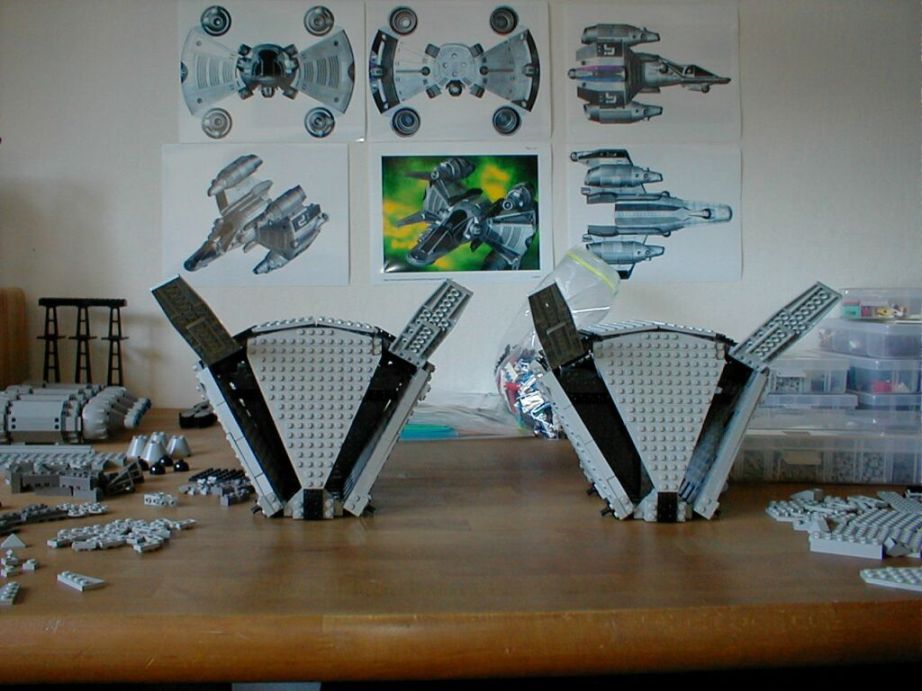
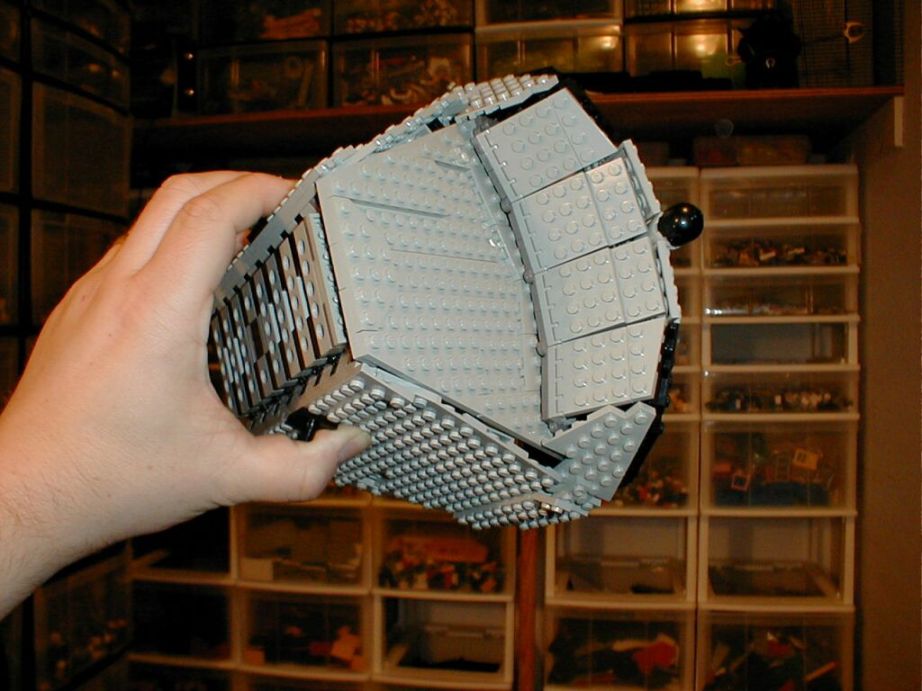
The large, triangular middle plates attach to the base of the wings (the narrow part at the bottom) with two sets of 1x4 hinges. More magnets underneath on the other end hold the whole plate tight. I used magnets again because they also allow easy and quick removal of the plates (a necessity when you're constantly making modifications!). I've also just added plates to the outer panels of the wings. The springs supporting the curve flex a little so that the large, triangular middle plate *snaps* just underneath the forward edges of the outside curve plating. The two following pics show how well this combo of the doors and the middle plate fit with the angle of the wings.
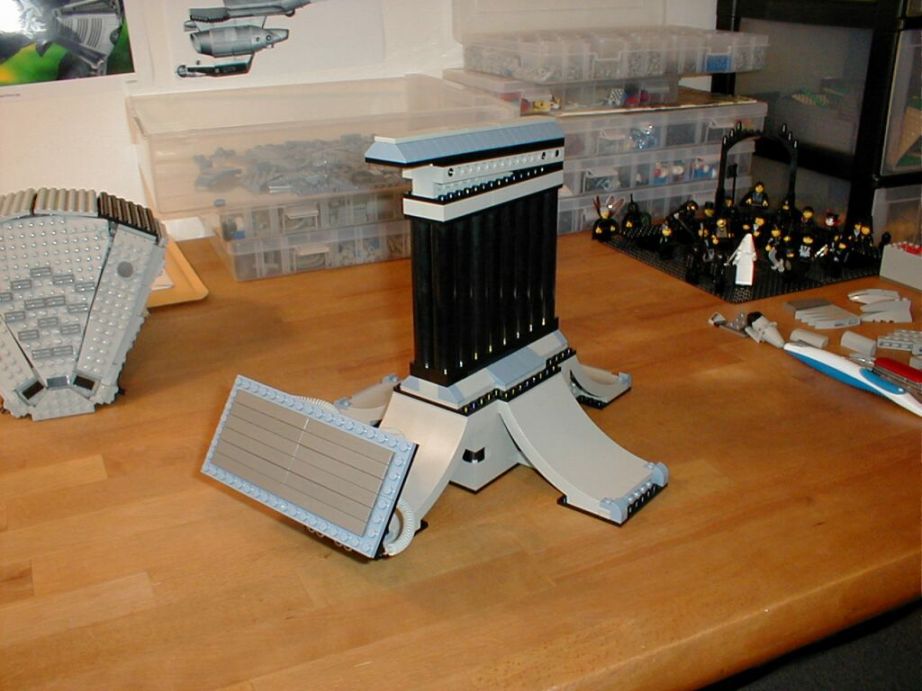
I knew that the ship was going to weigh a LOT so I had better build a really sturdy stand. Fortunately, the underside of the fuselage has a long trench two studs wide so I was able to construct a nice, thick bar that would evenly distribute the weight of the ship.
This is my first pass on the cockpit. Aside from the wings, this is the part of the model I spent the most time reworking. After this pic, I added a lot of clutter to this area, especially between the two cockpits. I came back and cleared it away and it looks very much as it did initially. Sometimes you do it right the first time, but manage to mess it up anyways!
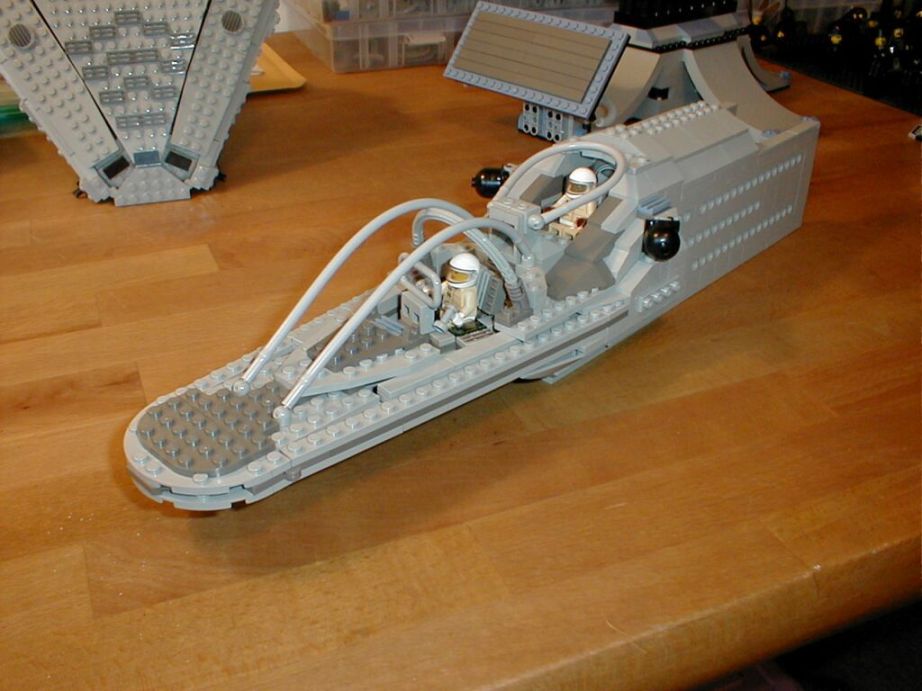
In this version, the forward cockpit is too tall. There's a consistent upward angle from front to back, and it made the whole ship look smaller. In the picture below you can see how I added a lot of brick clutter to the place where the two cockpits meet.
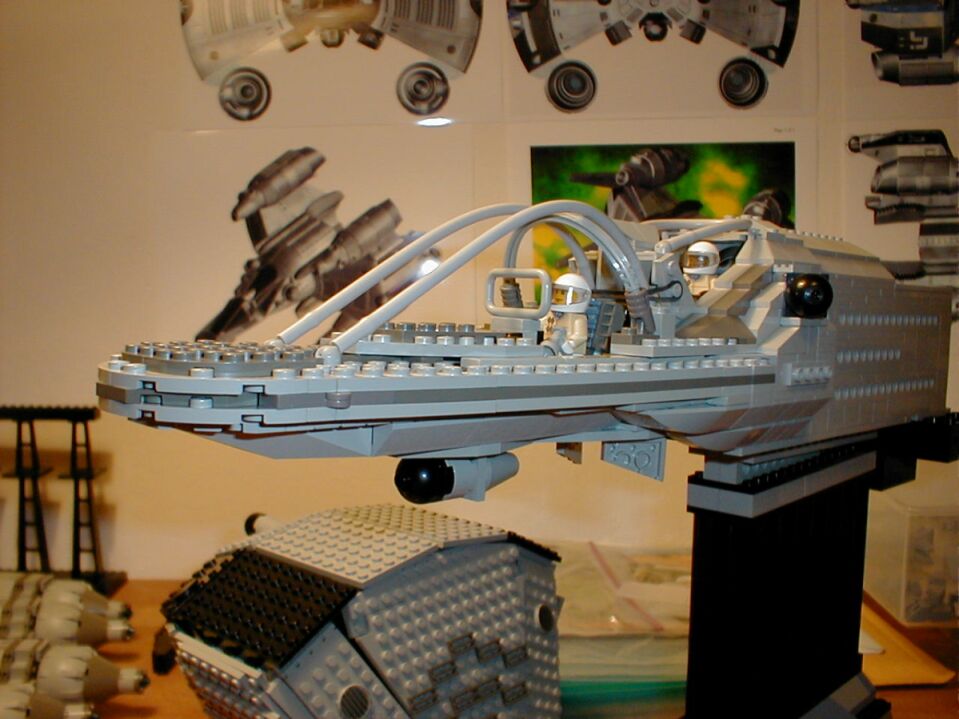
The wing detailing worked out fairly well. I've added the front mesh and (what I presume is) the Rylan ship ID number or squadron logo.
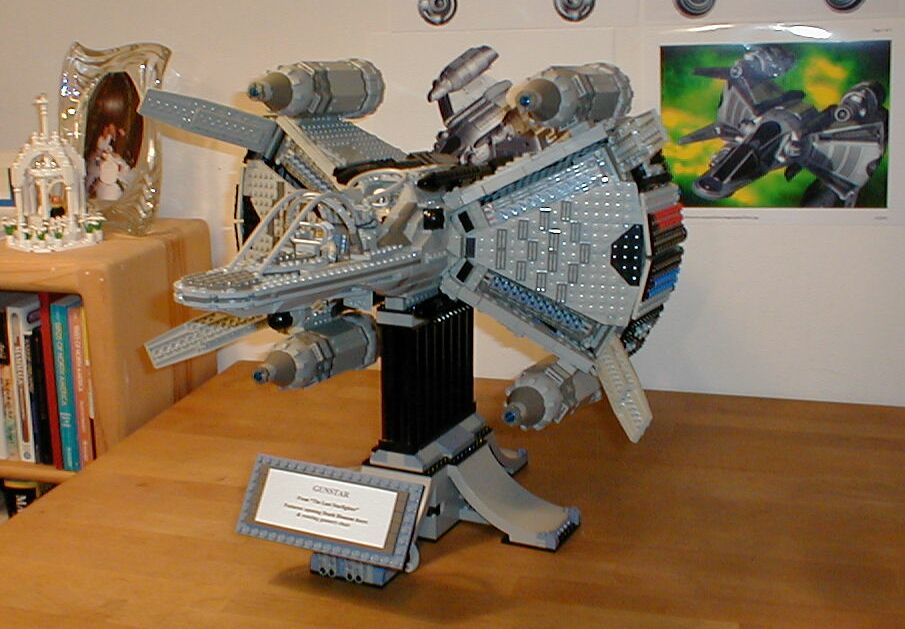
Here is the first time I'd put it all together. I love this pic because the ship on the wall and the one on the stand have almost the same position so you have a nice visual comparison. The engines have been slightly enlarged in the current version and the cockpits have been even more streamlined. You can also see the Death Blossom bays that are open and ready for activation!